How to Add Transitions in Premiere Pro: 5-Step Guide
Last UpdatedSeptember 12, 2023
by
Anthony Gallo

If you didn't know already, adding transitions to your video and audio clips is one of the easiest ways to level up the quality of your content.
Adding video transitions between clips makes your content look polished and professional, while audio transitions create smooth sonic transitions that are pleasing to the ear.
Though transitions are often fairly subtle, their impact shouldn't be underestimated.
Well-executed video and audio transitions create seamless edits that draw in viewers and boost engagement, helping your content leave a lasting impression.
So if you've found the perfect transition pack - in this article, I'll show you how to add transitions in Premiere Pro that'll have your video edits looking like a pro's in no time!
What are Transitions In Premiere Pro?
Transitions in Adobe Premiere Pro are effects applied between video and audio clips that create a seamless flow from one scene to another.
Transition effects can range from a simple default transition to complex scene changes with multiple layers of animation and effects.
Audio and video transitions in Adobe Premiere Pro can be single-sided or double-sided:
- Single-Sided: A single-sided transition effect is added to either the beginning or end of a single video clip, like a fade to black at the end of a video.
- Double-Sided: A double-sided transition effect flows between two clips, such as a crossfade used between two interview clips to smoothly transition between speakers.
Choosing the right type of transition is an important part of creating professional content.
How to Add Transitions In Premiere Pro?
To add transitions in Adobe Premiere Pro, import your clips, arrange them on the timeline, go to the Effects panel to find the 'Video Transitions' folder, and then drag and drop your chosen transition between your video clips.
You'll be happy to learn that adding transitions in Adobe Premiere Pro is as simple as any other video effect. Just follow these 5 steps and you'll be adding transitions like a pro in no time.
1. Import Your Clips
The first step is to import the video clips you want to use into a Premiere Pro project.
Open Premiere Pro and select File > Import or use the media browser. Browse and select the video files you want to import. The selected files will be automatically imported into the project panel. Alternatively, you can drag and drop your clips from the file explorer which is my preferred method.
2. Add Clips to the Timeline
Next, create a new sequence by clicking the “New Item” button in the project panel and selecting sequence. You can also right-click on a clip and select “New Sequence from Clip” to create a sequence using settings based on that clip. Alternatively, dragging and dropping your clip onto the timeline will automatically create a new sequence.
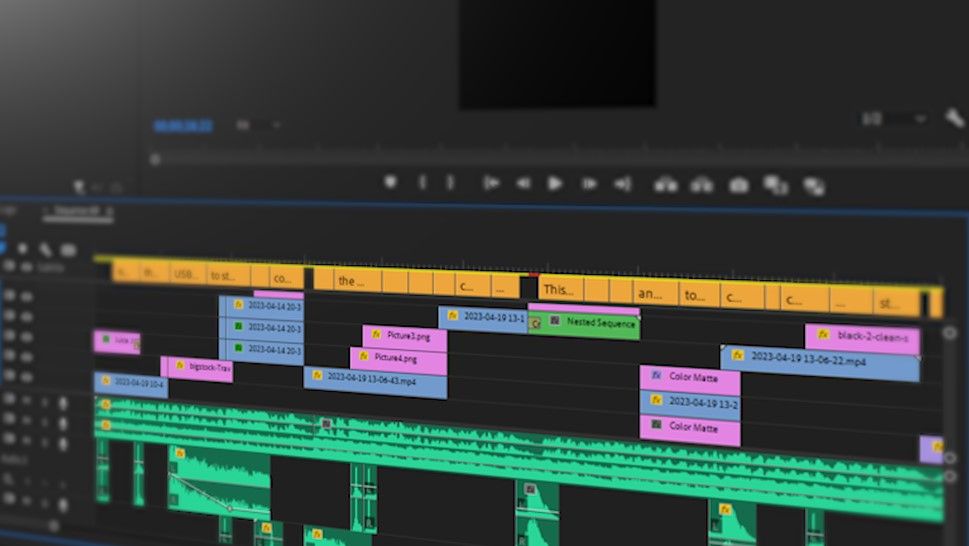
With the sequence created, drag any additional video clips you want to use from the project panel onto the timeline. Arrange them in the order you want the final video to play. Having at least two video clips on the timeline will allow you to add transition effects between them.
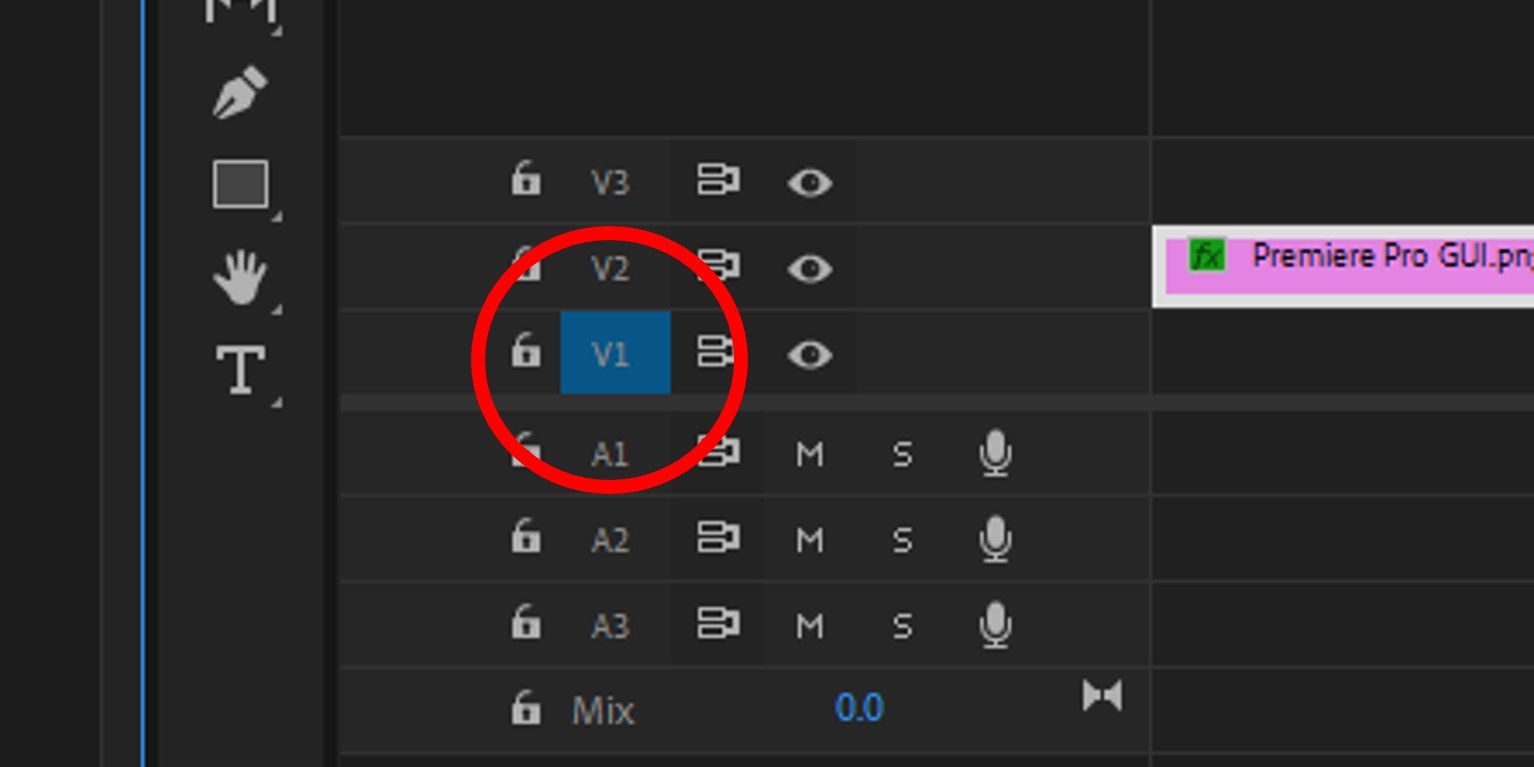
Pro tip: If you can't drag more than one clip onto the timeline, make sure at least one video channel is selected.
3. Find Transitions in the Effects Panel
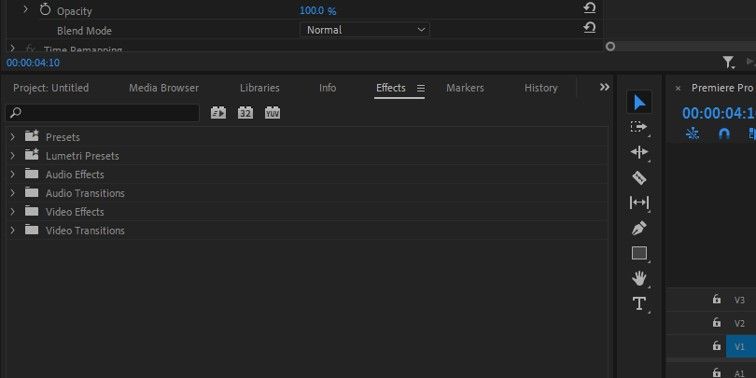
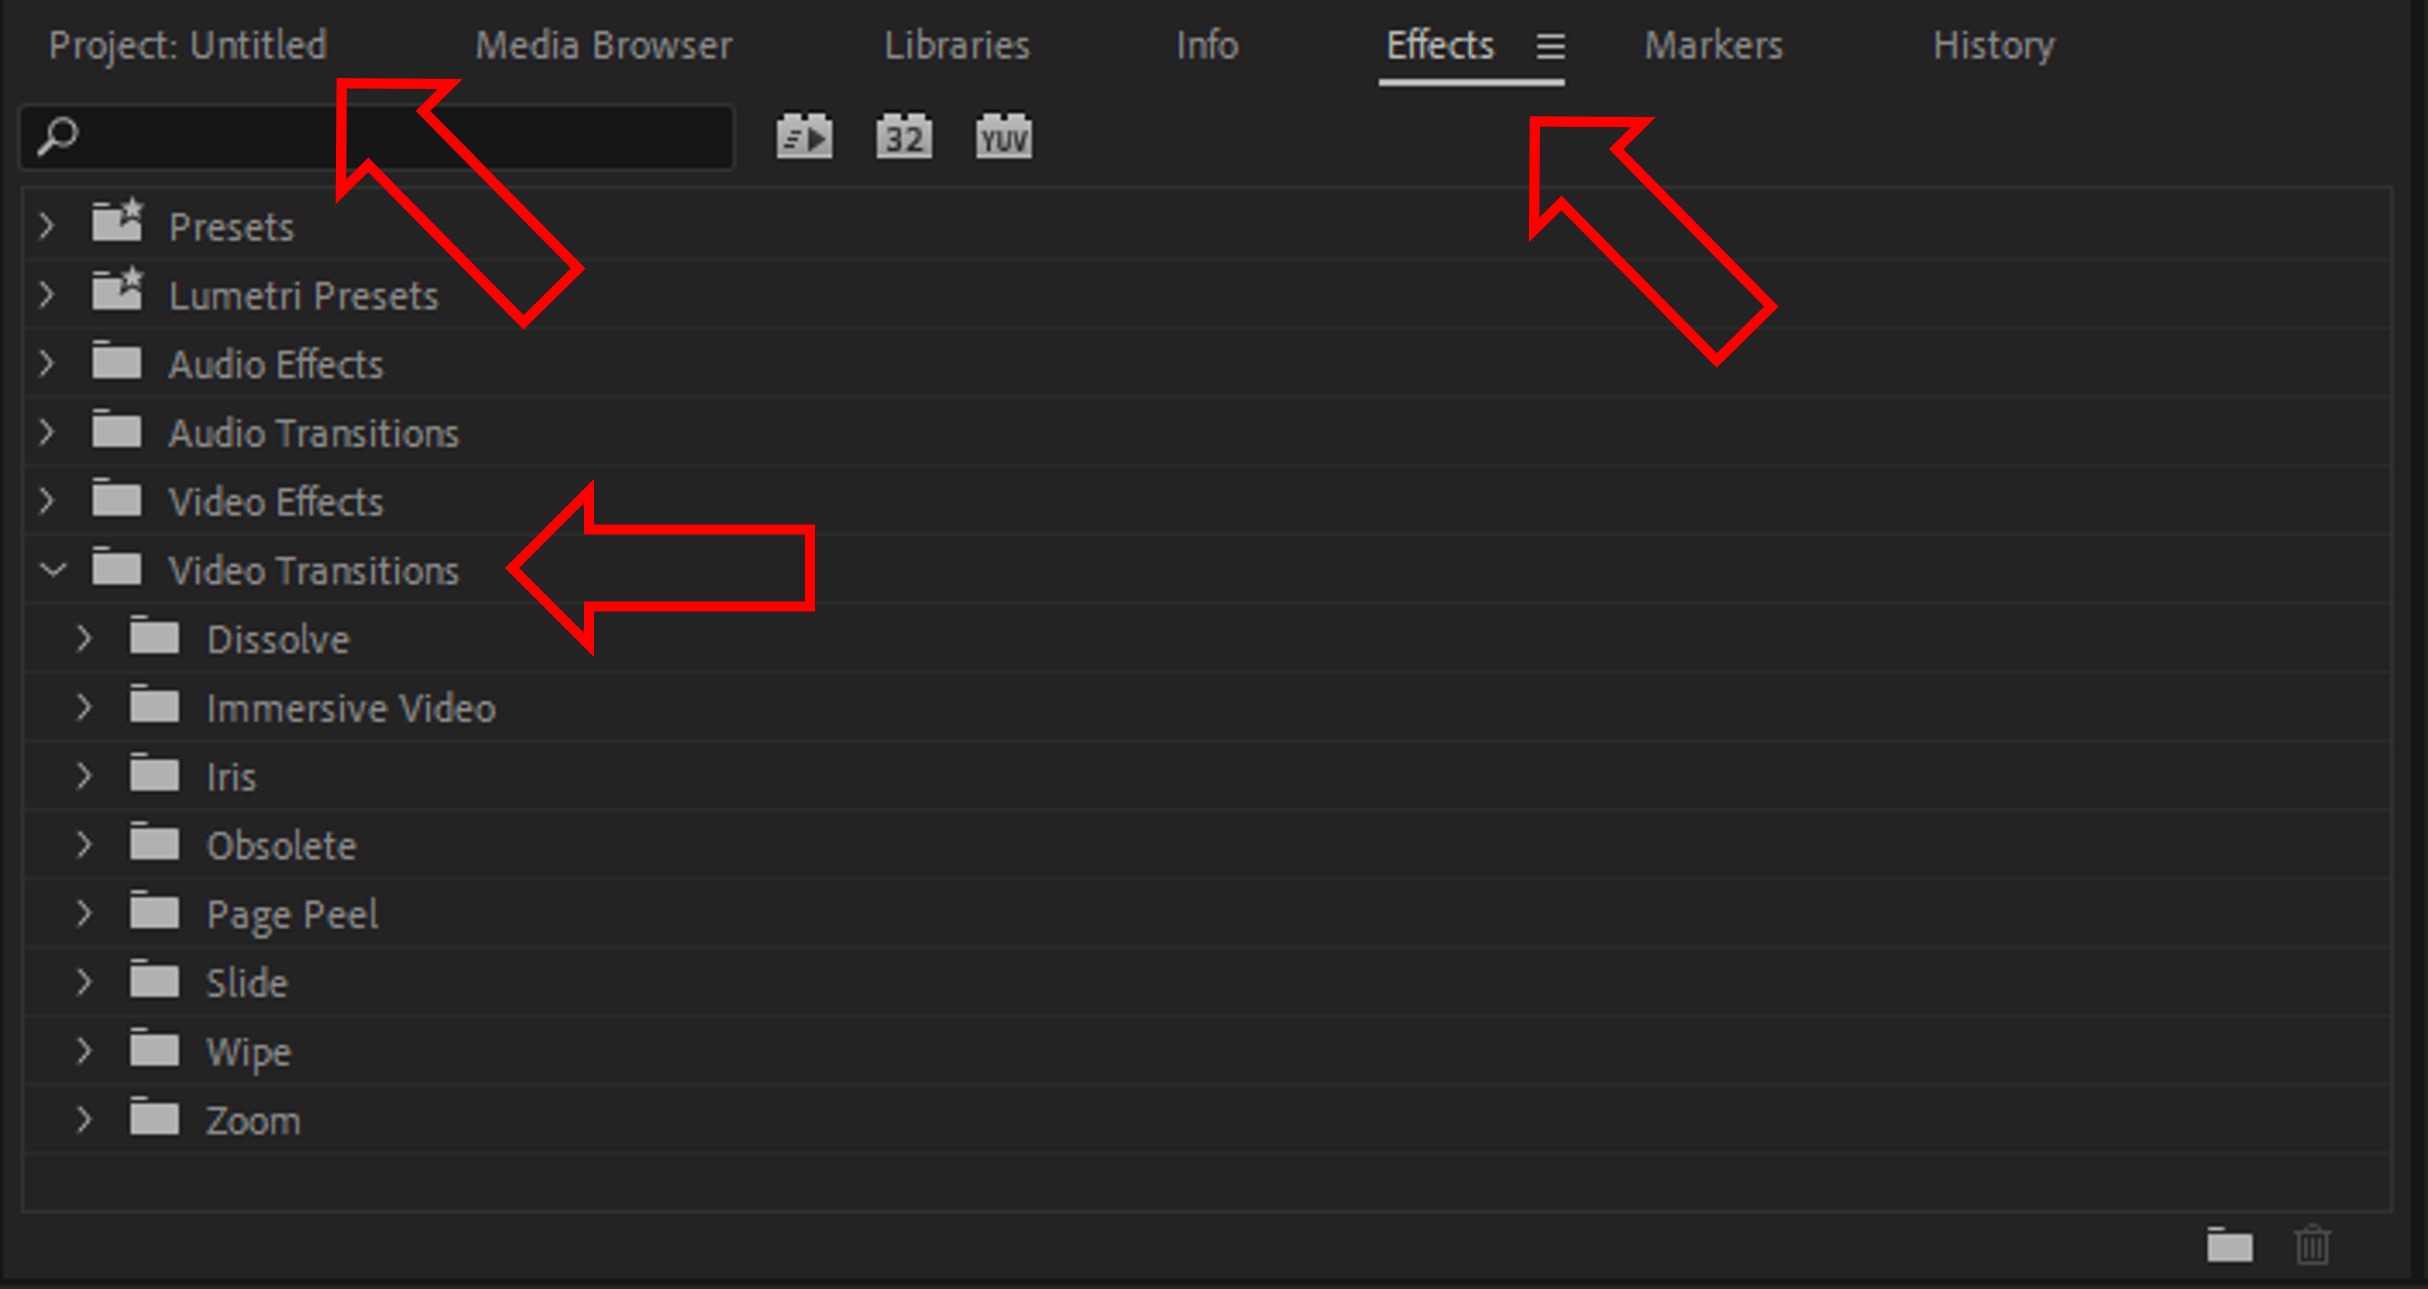
In the effects panel, you’ll find a folder called 'Video Transitions' which contains all of Premiere Pro’s default video transition effects. Similarly, there's a folder called Audio Transitions. I'll let you guess what's in there.
Protip: If you can't see the effects tab, try clicking Window > Effects. This will add the effect panel to the menu bar.
Click on it to expand the folder. You’ll see a range of popular video transitions like Cross Dissolve, Dip to Black, Wipe, and Slide.
You can also use the search bar to quickly find your favorite transition effects when you get more familiar with the names.
4. Add Transitions to the Timeline
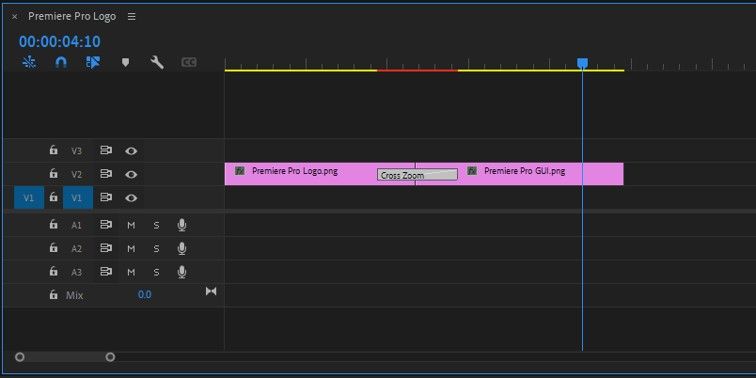
Once your clips are in place and you've chosen your default transition of choice, drag and drop the transition effect to your desired location. The transition will be added to the timeline either between 2 clips or at the start or end of one video clip depending on where you put it.
You can quickly add transitions to multiple clips using Shift + Click to select the individual edit points, and then right-click to choose 'Apply Default Transitions'. This will add the default cross-dissolve transition to every clip or edit point you have selected.
To change the default transition simply find the one you want in the Effects menu, right-click, and select Set Selected as Default Transition.
5. Adjust Your Transition Settings
You can adjust the duration of the transition by clicking the edges and adjusting the length. You can also grab the transition and drag it to the start, end, or center of the cut.
If you want to make fine adjustments to the audio or video transitions, click the transition and navigate to the Effect Controls panel.
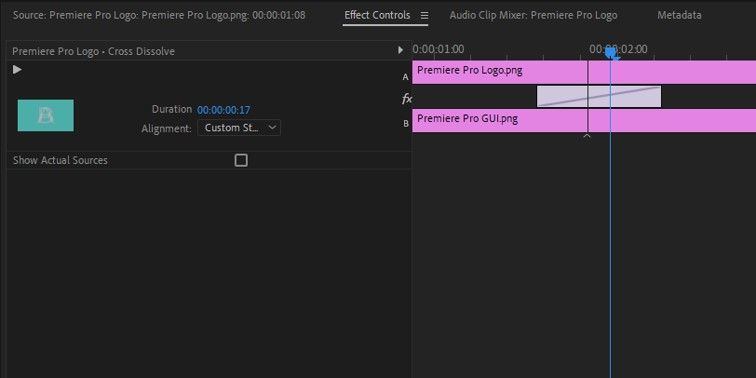
Here, you can set a precise duration for transition effects making them consistent throughout the video. You can also adjust the alignment and any other specific settings available for your selected transition.
Pro Tip: Double-click a transition on the timeline to easily adjust the duration.
If all your transitions are to be identical, use Shift + Click to highlight multiple transitions similar to step 4.
What Are the Best Transitions in Premiere Pro?
The best default transitions in Adobe Premiere Pro for video include Cross Dissolve, Fade In/Out, and Whip. For audio, popular options are Constant Power, Exponential Fade, and Constant Gain.
As you become more familiar with adding video transitions, you'll likely discover a select few that you frequently use in the majority of your projects. Here are some frequently used default transitions for video in Adobe Premiere Pro:
- Cross Dissolve: Gradually fades out one clip while simultaneously fading in the next, blending the two together. Ideal for creating a seamless video transition effect between similar scenes.
- Fade In/Out: A default transition effect that causes a gradual increase or decrease in opacity. Fade-ins typically occur at the beginning of a clip, making it appear from a black screen. Fade-outs do the opposite, causing the clip to disappear into a black screen. Often used to signify the beginning or end of a sequence.
- Whip: My personal favorite default video transition, Whip mimics a rapid camera pan by blurring one clip out in a specific direction and then blurring the next clip in from the same direction. Often used in short-form content in conjunction with the classic 'whoop' audio effect.
Some popular audio transitions are:
- Constant Power: A popular default audio transition that gradually fades between two audio clips, providing a smooth transition. Useful for song changes or to signify the end of a major section of a story.
- Exponential Fade: A default transition effect similar to Constant Power but fades out audio using an exponential curve, making it less abrupt and often more natural for ending music tracks.
- Constant Gain: Creates a linear fade between two audio clips. This is a common default audio transition and is often used for more abrupt changes.
Can You Make Your Own Transitions in Premiere Pro?
Absolutely! You can make your own transitions in Premiere Pro using keyframes to manipulate elements like position, scale, and opacity.
Creating custom transitions offers greater control and originality in your video projects. In fact, if you ever get sick of the default video transitions, there are custom transitions, LUTs, Overlays, sound effects that you can find right here on Content Creator Templates!
Creating custom transition effects usually involves the use of keyframes to manipulate aspects such as position, scale, opacity, and speed. Mastering this aspect of video editing can allow you to really customize your project's visual characteristics.
Using custom transition effects in Adobe Premiere Pro allows you to align your transitions with your content and amplify its originality.
FAQs
What panel contains the “video transitions” folder in Premiere Pro?
To access the Video Transitions folder in Premiere Pro, navigate to the Project Panel, Click Effects, and click the "Video Transitions" folder dropdown menu.
How do you add multiple transitions in Premiere Pro?
To add multiple transitions in Premiere Pro, use the Shift + Click method to select multiple edit points where you'd like transitions to be applied. After selecting these points, right-click and choose 'Apply Default Transitions'. This will apply the default transition to all the selected edit points at once.
How to change the default transition in Premiere Pro?
To change the default transition in Premiere Pro, navigate to the "Effects" panel and find the transition you want to set as your default. Right-click on it and select 'Set Selected as Default Transition'. The new default transition will now be applied whenever you use the 'Apply Default Transitions' option.
How do you import transitions in Premiere Pro?
To import transitions into Premiere Pro, you'll first need to download or create the transition files. Once you have the files, go to the "Effects" panel and click the hamburger menu (three horizontal lines). Select "Import Presets" and navigate to the location where your downloaded transition preset files are saved. Select the preset files and click "Open" to import them into Premiere Pro.
How can you make your own transitions in Premiere Pro?
You can create custom transitions in Premiere Pro by utilizing keyframes to adjust elements such as position, scale, and opacity of your video clips. Open the "Effect Controls" panel, add keyframes where you want the transition to start and end, and then manipulate the properties. Save these settings as a preset if you'd like to use the same custom transition in future projects.
Wrapping Up
Today we walked through how to add transitions in Adobe Premiere Pro.
Adding transitions to your video editing bag of tricks will elevate the quality of your video clips, and improve the engagement of your audience.
The process is simple: import your clips, add them to the timeline, select your default transition from the Effects panel, and adjust settings as needed.
Try adding stock transitions to your content today or try some custom made transitions available right here on Content Creator Templates!

Anthony Gallo
Anthony Gallo is the cofounder of ContentCreator.com and lead educator in the online course 14 Day Filmmaker, that has taught over 100,000 aspiring creators how to shoot & edit professional video content with PRO and SMARTPHONE cameras.
Having created content in a variety of industries including commercial advertising, weddings, music videos, and hundreds of youtube videos, Anthony has amassed over 50 million views online and is constantly looking for new and engaging ways to create content and help others master this amazing craft.