How to Add LUTs to DaVinci Resolve (2024 Guide)
Last UpdatedSeptember 26, 2023
by
Anthony Gallo
Color grading is an important step in the video editing process, and achieving the perfect look can be time-consuming and challenging. What if there was a way to streamline this process and create professional visuals effortlessly?
Enter LUTs (Lookup Tables), the go-to tool for professional video editors and colorists alike. In this guide, you’ll learn everything you need to know about LUTs, their importance, and how to add LUTs in DaVinci Resolve.
Understanding LUTs and Their Importance
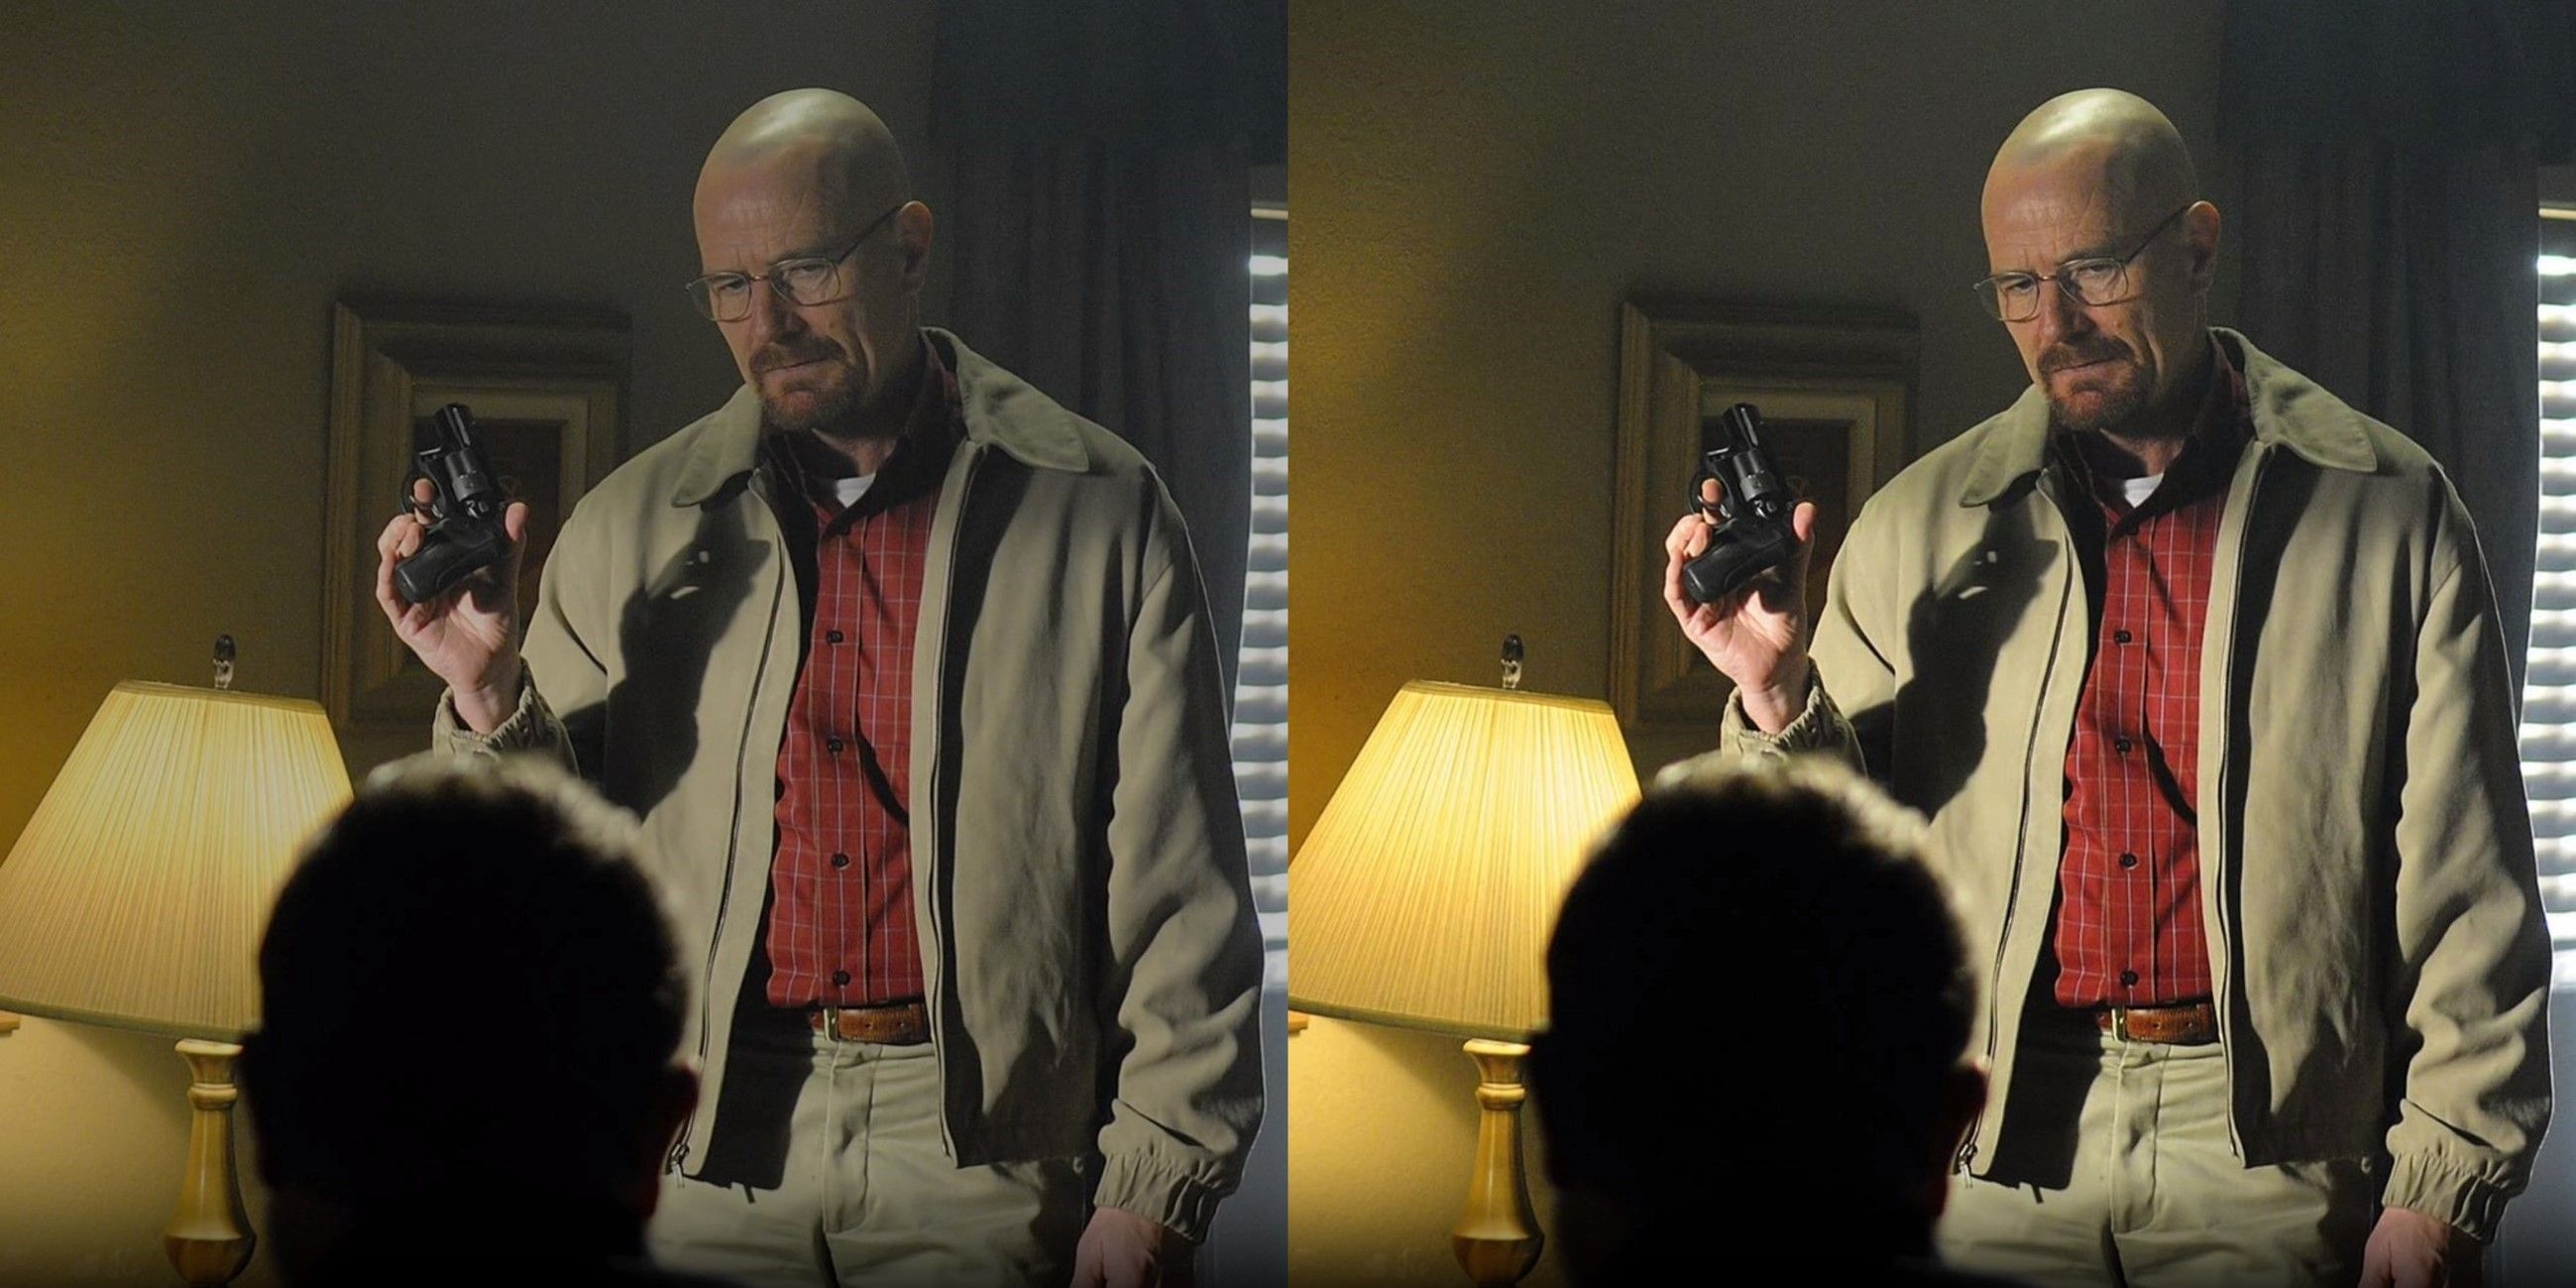
LUTs, or Lookup Tables, are essential tools for color grading, offering a quick and efficient way to achieve a desired look or style.
LUTs are widely used in various video editing programs, including DaVinci Resolve, to transform the colors of your raw format footage and create a specific mood or tone. They act as color presets that can be easily applied to your video, saving you a bunch of time and effort in the editing process.
So if you've already found the best LUTs for DaVinci and you're looking to add them to DaVinci, or you're just after a better understanding of LUTs, you're in the right place.
What is a LUT?
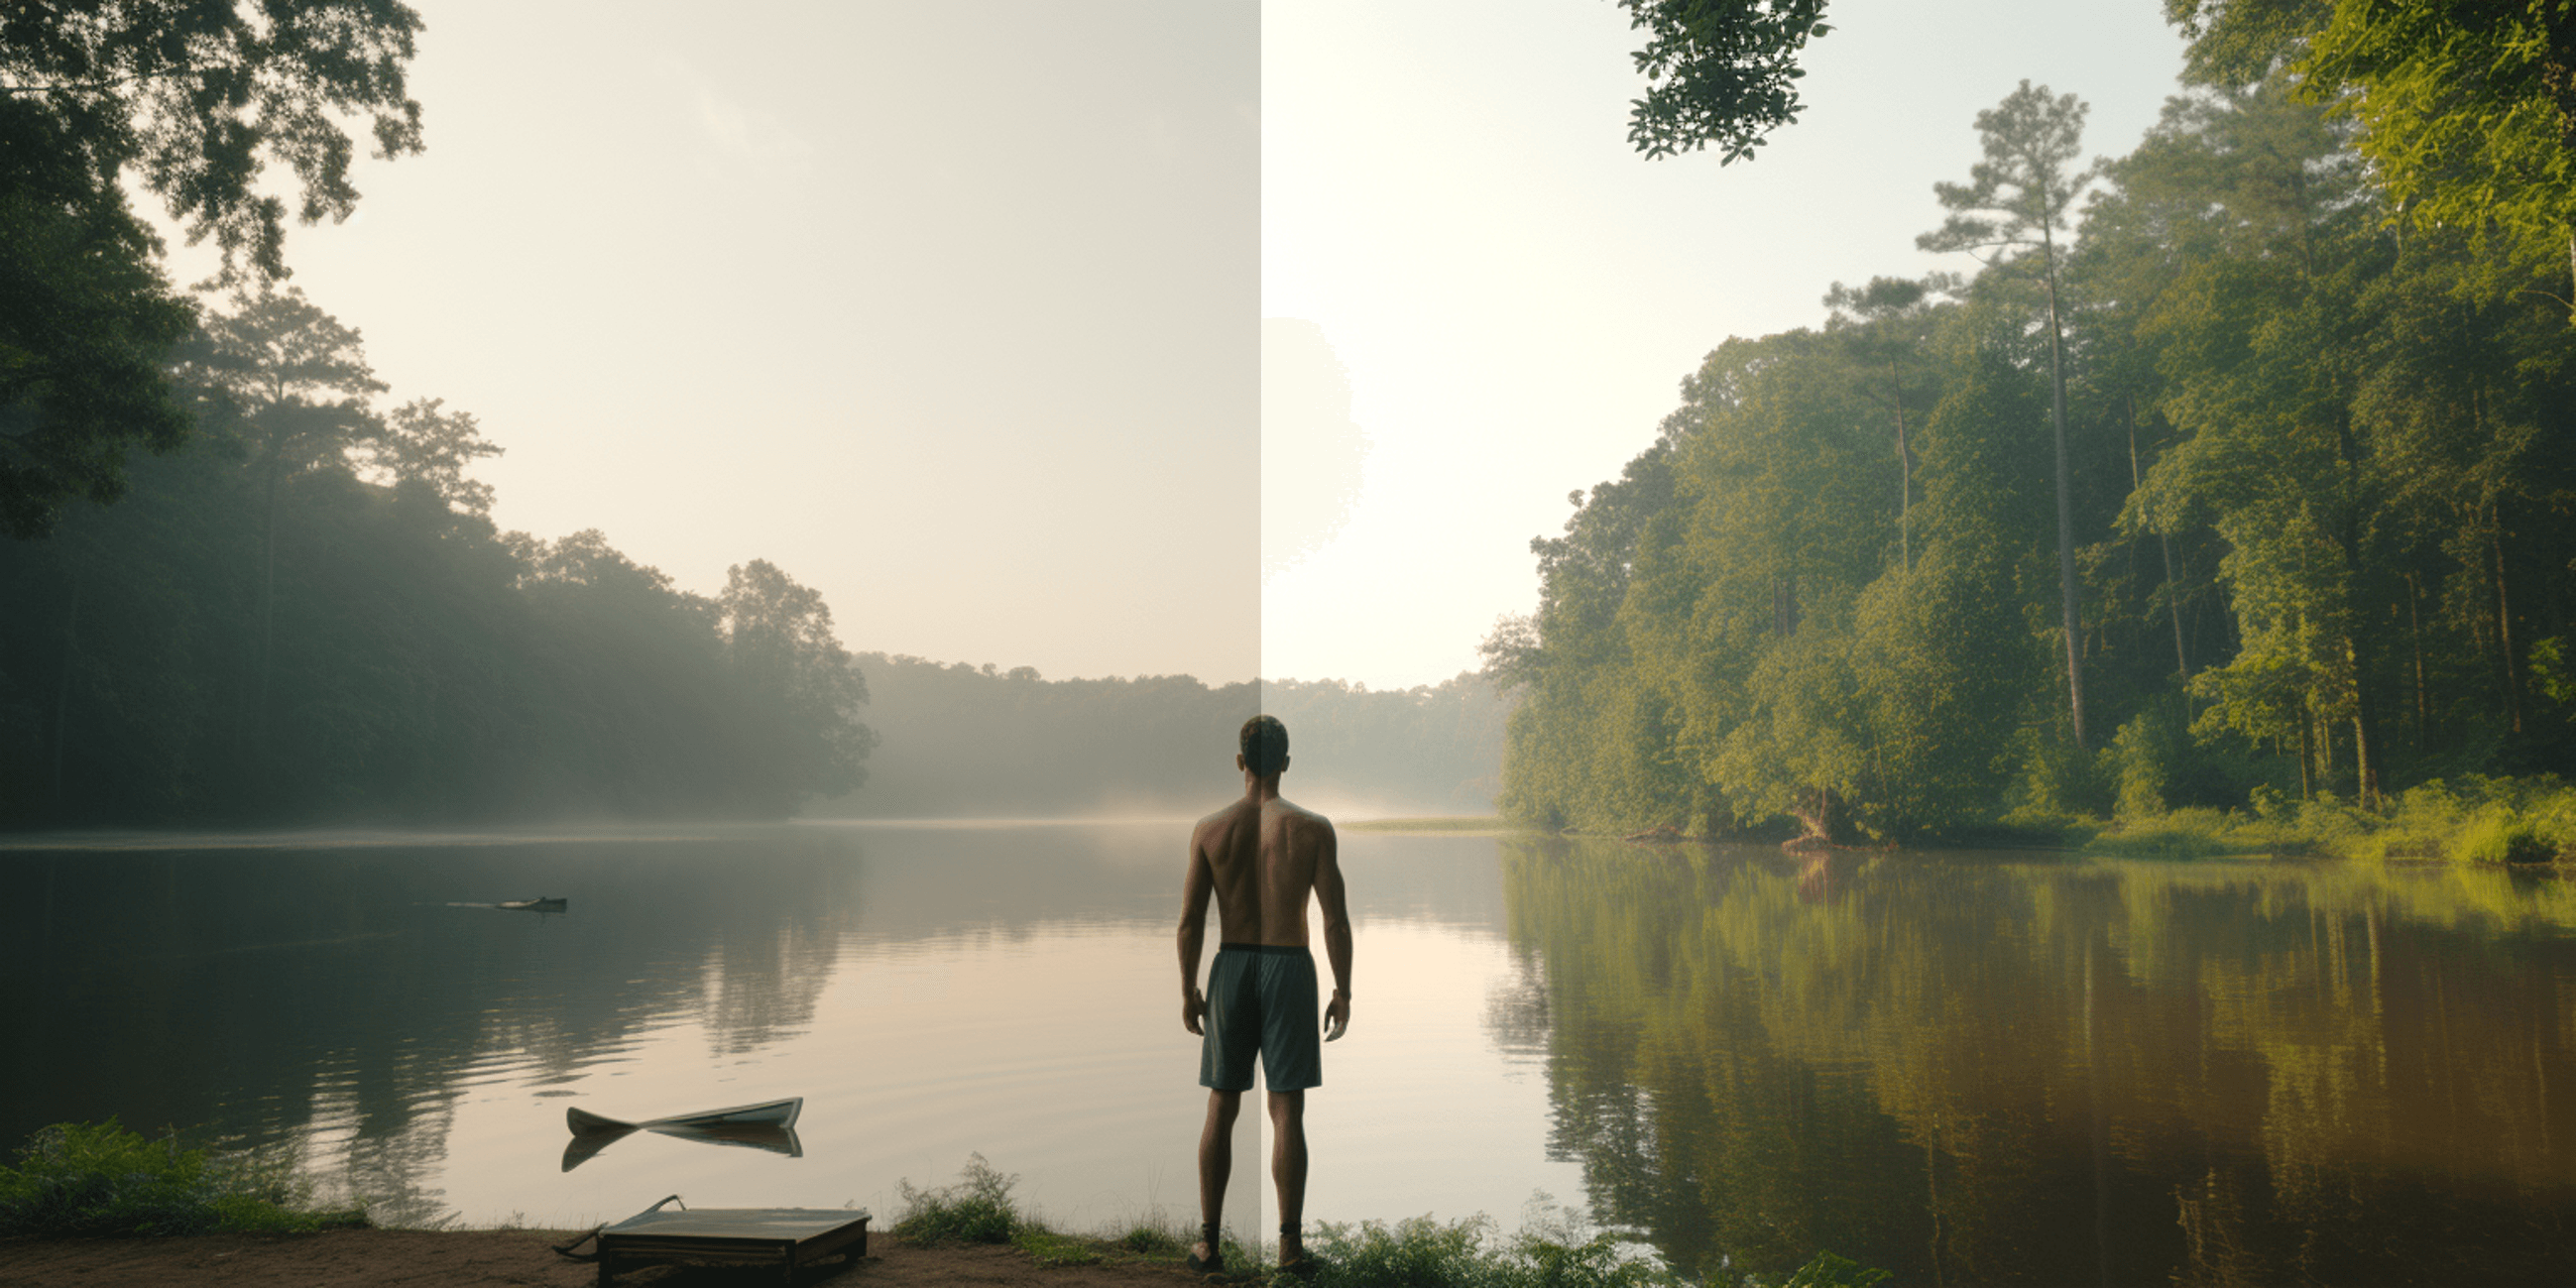
A Lookup Table is a mathematical formula that maps one set of colors to another. In the context of video editing, LUTs are used to modify the colors and tones of footage to achieve a desired look or style.
Have you ever watched a film that uses a different visual theme when doing a flashback? That's a perfect example of when LUTs come in handy.
Another benefit of using LUTs is their adaptability across a variety of color grading programs including Davinci Resolve. LUTs are formatted as Cube Files (.CUBE) or 3D LUT (.3DL) file formats and can be easily imported for use in Davinci Resolve.
Benefits of Using LUTs
Incorporating LUTs into your color grading process is something you want to consider if you're looking to save time, boost consistency, and take your video edits to the next level.
LUTs save you time by allowing you to apply complex color adjustments with just a few clicks. This makes the color grading process much more efficient, especially when working with multiple projects requiring a consistent look.
Another benefit of using LUTs is their capacity to maintain uniform color grading across various software and devices. By applying the same LUT to your footage, you can maintain a uniform appearance and color grade, regardless of the editing platform or display device. This is particularly useful for creators working in collaborative environments or for those who work on multiple devices.
How Do I Import LUTs into DaVinci Resolve?
To import LUTs in DaVinci Resolve simply click the bottom right gear icon to access project settings, in the color management tab click "Open LUT Folder", drag your LUTs in, and click the "Update Lists" button in the Color Management tab. You're done!

Having gained an understanding of LUTs and their significance, let’s explore how to add them into DaVinci Resolve. The process of adding LUTs to DaVinci Resolve is simple:
- Access project settings
- Open the LUT folder
- Drag in your new LUTs
- Refresh the LUT list
1. Access Project Settings
To access project settings in DaVinci Resolve, simply click on the settings icon (cogwheel) located in the bottom right corner, this will open a separate Project Settings window.
2. Locate the LUT Folder
In the Project Settings windows click into the Color Management tab, you should see the "Lookup Tables" (LUTs) section. From there, click on the “Open LUT Folder" button.
3. Drag in Your New LUTs
With the LUT folder open, simply drag and drop your LUT files (.CUBE or .3DL) into it. This will import the LUTs into DaVinci Resolve making them available for use in your projects.
4. Refreshing the LUT List
Once you’ve imported your LUTs, remember to refresh the LUT list in DaVinci Resolve to make the newly imported LUTs accessible for use.
In the Project Settings > Color Management tab click 'Update Lists'. Your cube file should now be accessible in the dropdown menu!
5. Download Unique LUTs (optional)
If you'd like access to hundreds of high-quality LUTs, transitions, lower thirds, overlays, and other video presets, check out Content Creator Templates where you can access a wide range of unique LUTs for DaVinci Resolve.
How Do I Apply LUTs in DaVinci Resolve?
Select your desired clip, navigate to the Color tab, add a corrector node before the LUT node, click LUTs in the top left, and apply your desired LUT to the LUT node.
Now that we know about installing LUTs in DaVinci Resolve, let’s learn how to apply them to our footage. The steps involved in applying LUTs in DaVinci Resolve are as follows:
- Select Footage.
- Add nodes to the Color page.
- Choose and apply a LUT.
- LUT Fine Tuning.
Follow the guide below to learn how to apply LUTs to your footage in DaVinci Resolve.
1. Select Footage
To begin applying LUTs in DaVinci Resolve, first, select the footage you want to color grade. With your footage selected, navigate to the "Color" tab from the icon at the bottom.
2. Add Nodes to the Color Page
In the Color page, right click the grid on the top right and Add Node > Corrector. Click and drag the node into the sequence.
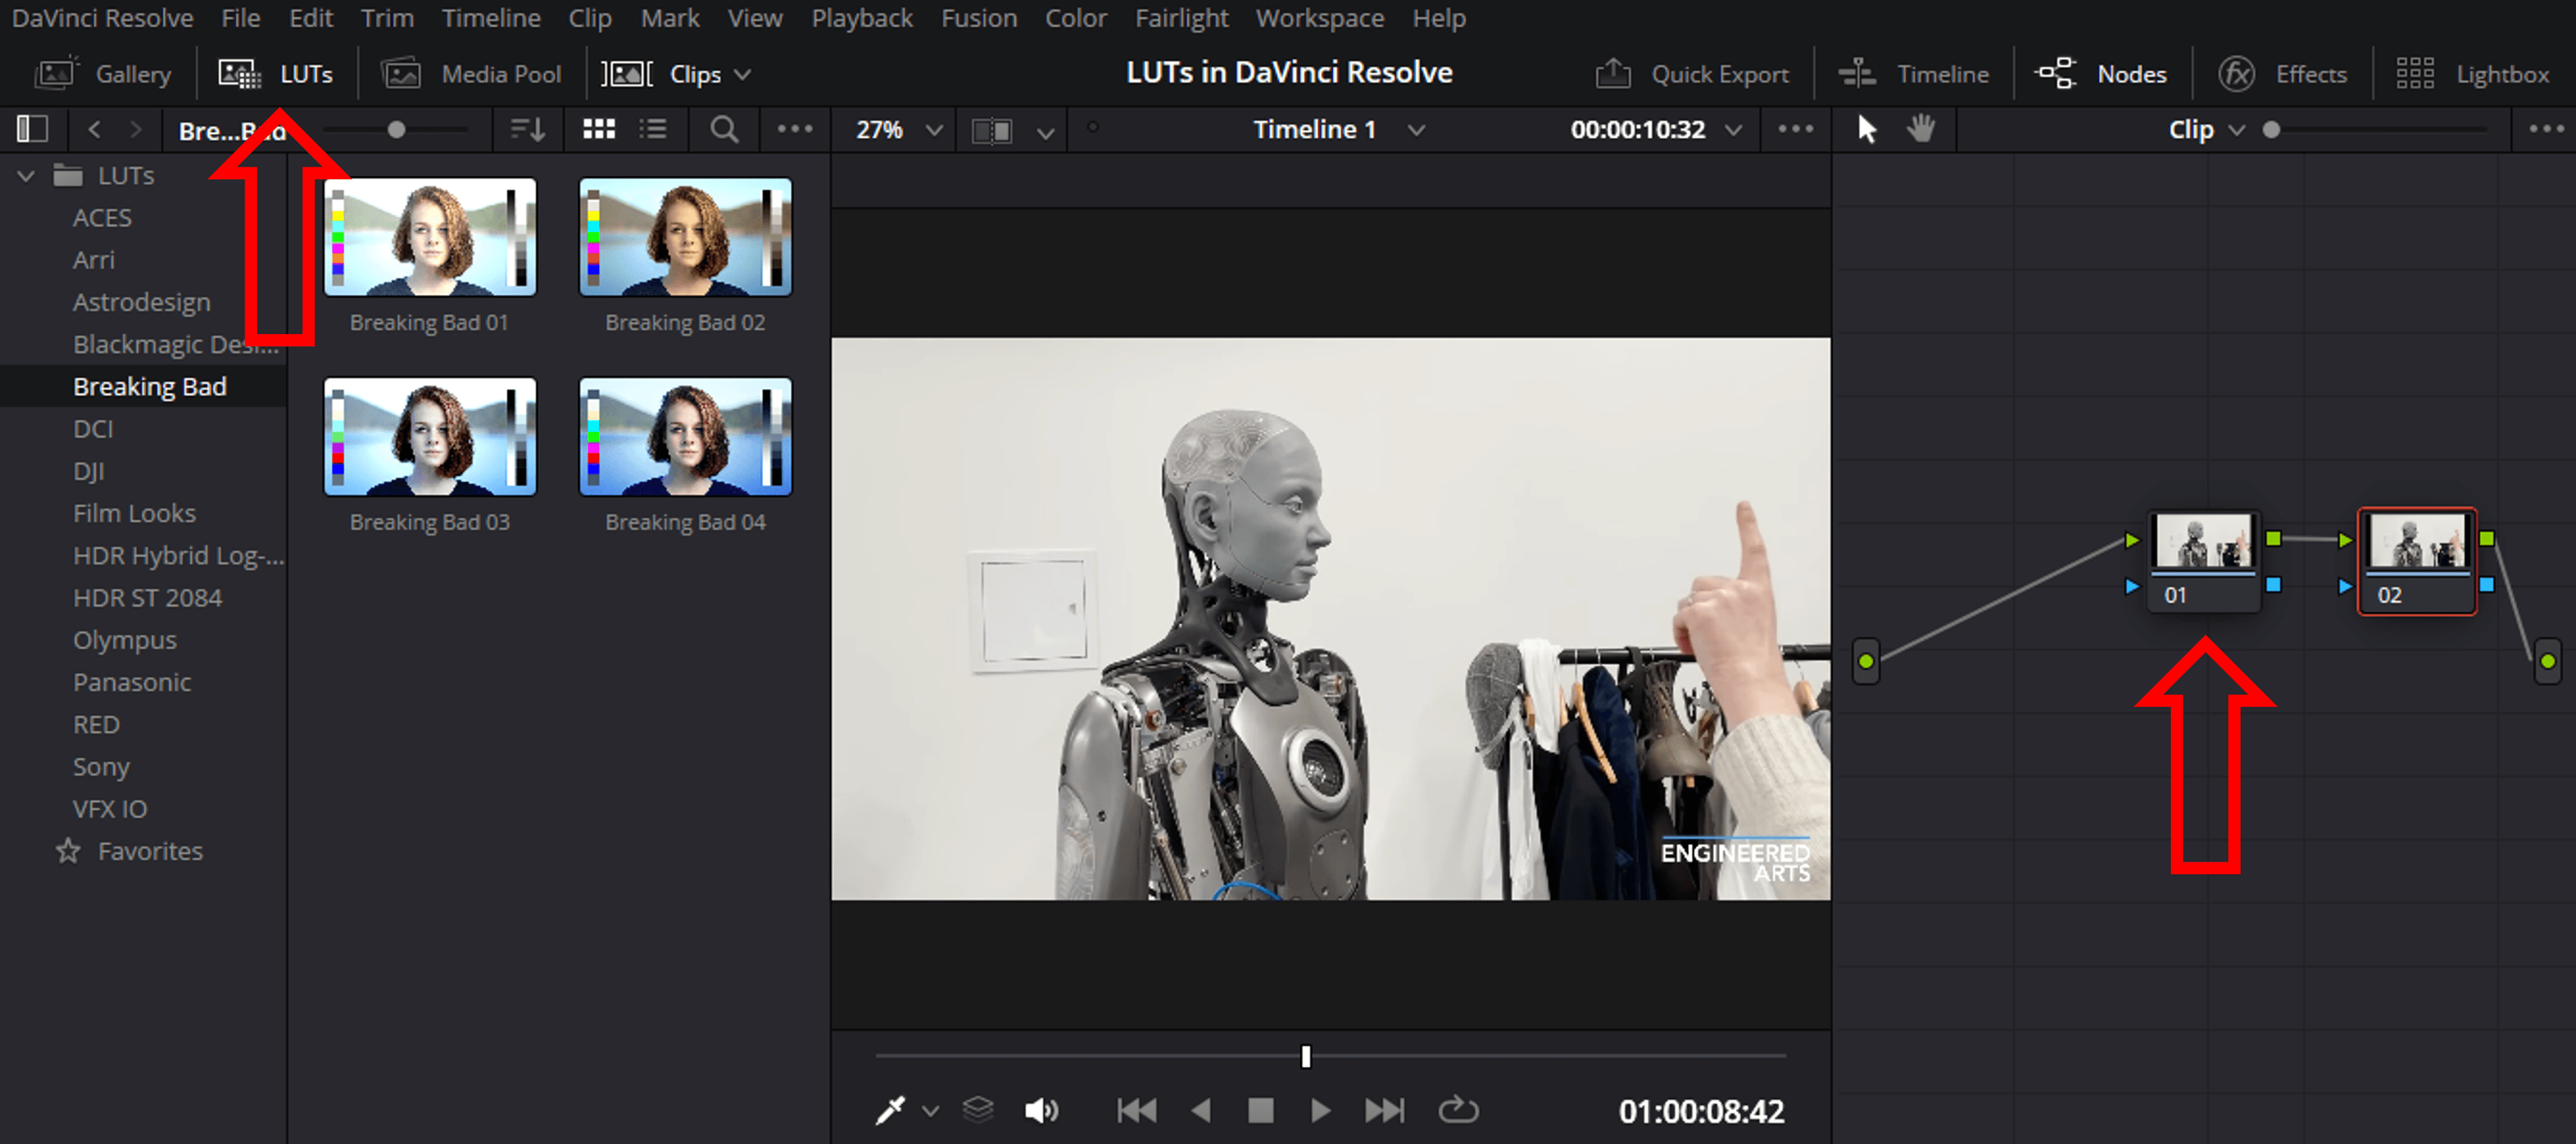
3. Choose and apply a LUT
With your footage and node set up, it’s time to choose and apply a LUT.
Click the LUT tab at the top left, navigate to your desired LUT and click to apply it. You can also get a preview of the LUT but hovering your mouse over the preview boxes. Alternatively, right click the node and navigate to LUTs to apply them directly without a preview.
By creating a node before your LUT node it allows you to bring back any detail that might be lost when applying the LUT.
4. LUT Fine-Tuning
After applying a LUT, you may want to adjust its intensity and fine-tune the color grading to achieve your desired look. To adjust the intensity of the applied LUT, follow these steps:
- Select the node that contains the applied LUT.
- Go to the Key Output tab.
- Adjust the ‘Gain’ setting to control the strength of the LUT’s effect on your footage.
By adjusting the intensity of the LUT, you can customize the look of your log footage to match your creative vision.
Additionally, you can add more nodes and adjustments to further refine the color grade and achieve the perfect look for your project.
Tips for Working with LUTs in DaVinci Resolve
Working with LUTs in DaVinci Resolve can greatly improve your color grading workflow and help you achieve stunning visuals with ease.
To get the most out of using LUTs in DaVinci Resolve, consider the following tips for organizing, combining, and customizing LUTs.
- Organizing LUTs: Maintaining an organized collection of LUTs will help streamline your color grading process. To keep your LUTs organized in DaVinci Resolve, consider creating separate folders for different types of LUTs or projects within the LUT folder.
- Combining Multiple LUTs: Consider blending multiple LUTs by adding multiple nodes to your node tree and apply the desired LUTs to each node. By stacking LUTs in this way, you can create a more intricate color grade that combines the effects of multiple LUTs. Experiment with different combinations of LUTs and node arrangements to find a unique look.
- Customizing LUTs: Although LUTs offer an excellent foundation for your color grade, you might find it beneficial to modify them to cater to your unique requirements. To customize LUTs in DaVinci Resolve, you can adjust the intensity of the applied LUT, blend the LUT with other color adjustments and LUTs, and experiment with different settings and combinations to create unique color grades.
What Are Some Online Resources for DaVinci LUTs?
Whether you’re a novice to LUTs or just aiming to broaden your collection, Content Creator Templates provides a wide range of LUTs allowing you to experiment with different looks and styles without breaking the bank.

To download LUTs from Content Creator Templates, simply visit the site and sign up, find your LUTs and other video presets, and click downland! It couldn't be more simple.
Once you’ve downloaded the LUT packs, install LUTs by importing them into DaVinci Resolve using the steps outlined earlier in this guide.
You can also try making your own LUTs for a totally unique color grading touch to your projects. Make sure you've got your DaVinci render settings just right too!
Wrapping Up
LUTs are a powerful weapon for video editors and colorists looking for a quick and efficient way to streamline the color grading process.
By understanding the importance of LUTs, learning how to add and apply them in DaVinci Resolve, and utilizing the tips and resources provided in this guide, you’ll be well on your way to creating professional content in no time.
So go ahead, download some LUTs and dive in! The power of color grading is now at your fingertips, and with LUTs and DaVinci Resolve, the sky’s the limit. 👍

Anthony Gallo
Anthony Gallo is the cofounder of ContentCreator.com and lead educator in the online course 14 Day Filmmaker, that has taught over 100,000 aspiring creators how to shoot & edit professional video content with PRO and SMARTPHONE cameras.
Having created content in a variety of industries including commercial advertising, weddings, music videos, and hundreds of youtube videos, Anthony has amassed over 50 million views online and is constantly looking for new and engaging ways to create content and help others master this amazing craft.