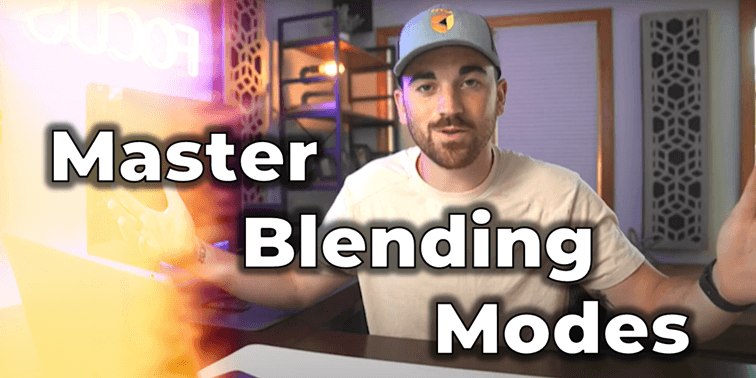
Blending Modes: How to Master Film Mattes and Flares
Last UpdatedJanuary 19, 2024
by
Anthony Gallo
Blending modes are a powerful video editing tool for mixing layers and transferring effects.
By mastering blend modes like multiply, screen, overlay, and soft light, you gain more control to make footage look cinematic and professional. The right blending mode also allows for seamless tinting of color images to set a mood and smooth transitions with lens flares.
This guide will teach best practices for harnessing blending modes to take your edits to the next level visually through selectively combining layers.
What Are Blending Modes?
Blending modes are tools in video and image editing software that control how layers interact by altering the way their pixels combine. They enable a range of effects from color and texture blending to light and contrast adjustments.
Common Blend Mode Effects in Video Editing
Let's take a look at the most common ways creators like to use blending modes in their video clips.
1. Film Mattes for a Vintage Look
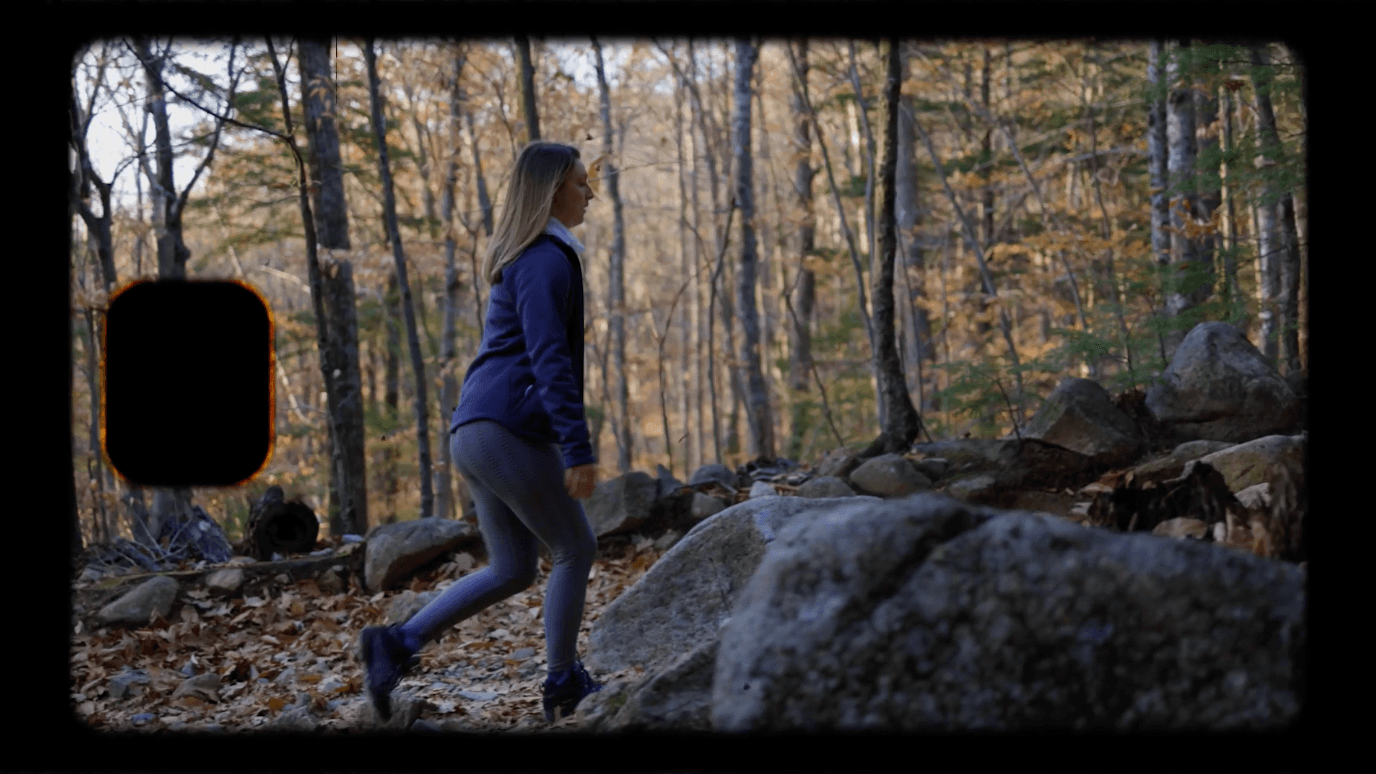
Overlaying a film matte onto your footage is a great way to give it a vintage, cinematic style.
Film mattes add grain, light leaks, vignetting, and textured edges that make footage look like real celluloid film.
Using the Multiply blend mode allows the matte's texture to come through while still seeing the video below it. Adjust opacity to control the intensity.
Film mattes lend an organic feel that transports viewers to another era and are super popular amongst creators looking to add a certain feel to their content.
2. Multiply Blending Modes

The Multiply blend mode is one of the most versatile and commonly used for creative editing.
Multiply gets rid of the lighter areas of the top layer, making those portions transparent to reveal the layer below.
This works well for textured overlays like film mattes where you want the grain and texture to overlay the footage.
Multiply blending modes also allow you to layer in textures and graphics without fully obscuring the underlying video. Play with opacity and layer ordering to achieve your desired visual effect.
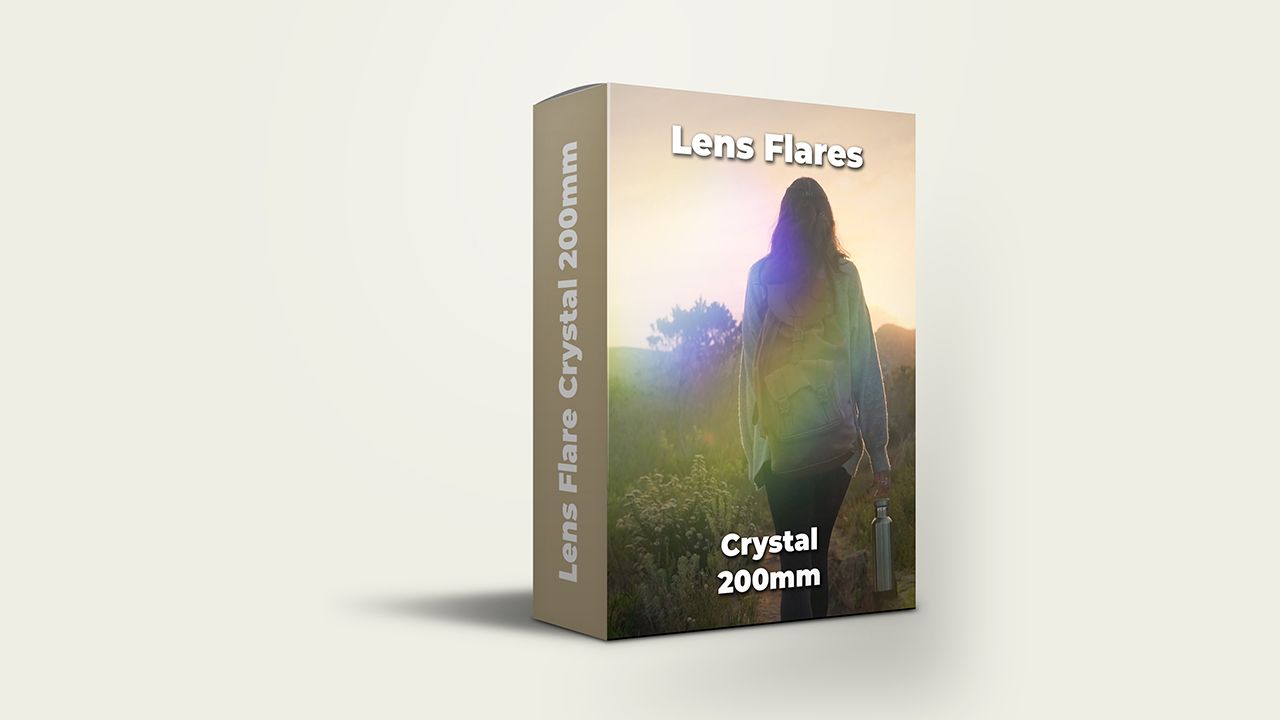
3. Seamless Transitions with Lens Flares

Using lens flares is an easy and unique way to transition smoothly between video clips.
Place the flare over the cut between scenes and set the blend mode to Screen. This keeps the flare visible while letting the darker areas become transparent.
You can color grade the flare so it matches the scene and try extending the flare shot to give it a natural ramp up and down.
Lens flares transition seamlessly between scenes with an ethereal, dreamy look.
4. Screen Blend Mode for Light Effects
The Screen blend mode is perfect for light effect overlays like lens flares. It does the opposite of Multiply - the lighter areas stay visible while the darker become transparent.
This ensures bright effects like flares and light leaks show through while letting the background layers be seen.
Screen is especially useful for luminous overlays that would otherwise obscure too much. Use it to add a magical, whimsical feeling with light effects.
5. Color Manipulation for Mood Setting
Blending modes can also benefit from slight adjustments to the color grading settings.
Using modes like Soft Light, you can tint footage of different colors to set a mood. Increase temperature for warm, inviting feelings or cool it down to be melancholic.
Reduce saturation for a muted style. Apply varied blending modes and opacity to separate elements for advanced grading.
Why Use Blending Modes in Your Video Edits?
Blending modes perform mixing between a blend layer and the underlying layer to transfer effects. By using different blend modes like multiply, screen, overlay, and soft light, you can create a unique look and feel to your video edits.
Blending allows you to add stylized film mattes and textures that make footage look cinematic without fully obscuring the background image.
Blending modes enable tinting color images to set a mood by grading clips. You can create seamless transitions with elements like lens flares by using a light blend mode.
Blending gives you the power to isolate and adjust channel values for advanced color grading too.
Mastering blending modes opens up endless creative options to take your videos to the next level visually and are a must for any creator looking for a simple way to level up their edits.
Blend Modes Best Practices
Here are some best practices for using blend modes effectively:
- Opacity: Adjust opacity to fine-tune the intensity of the blending mode effect. Lower opacity shows more of the bottom layer.
- Experiment with Blend Modes: Explore different blend modes like Normal, Multiply, Screen, Overlay, Soft Light, Hard Light, Vivid Light, and Difference to find the best effect for your vision.
- Use of Masking: Apply blend modes selectively to specific portions of your footage using masking, rather than affecting the entire clip.
- Color Grading Adjustments: After applying a blend mode, modify the look by adjusting color grading elements like temperature and saturation.
- Advanced Grading Techniques: For more sophisticated grading, apply various blend modes and opacities to different color channels.
- Key Blend Modes to Remember: Familiarize yourself with commonly used blend modes such as Screen and Multiply, especially for light effects and film mattes.
- High Contrast Overlays: Blend modes generally yield the best results with high contrast graphic overlays.
- Comparative Review: Watch your clip both with and without the blend mode applied to determine the ideal intensity.
- Layer Stacking: Create a complex, multi-layered effect by stacking multiple layers with different blend modes.
Online Resources for Film Mattes, Overlays, and Flares?
To find film mattes, overlays, and flares online look no further than Content Creator Templates.
By signing up for Content Creator Templates you'll gain access to thousands of video overlays for Adobe Premiere Pro, DaVinci Resolve, and Final Cut Pro with unlimited downloads!
Click the form below to try out some free assets courtesy of us here at CCT. 🙂
Wrapping Up
Blending modes allow editors to creatively mix layers by controlling how pixels interact. Mastering modes like Multiply and Screen enables adding overlays while retaining the footage below.
Use Multiply for film mattes to achieve vintage, textured looks. Screen works for light leaks and flares for smooth transitions. Blend modes also permit advanced color grading to set moods.
Follow best practices like adjusting opacity and experimenting with different modes. Use masking for selective application.
Overall, blend modes give immense creative power by blending layers allowing your videos to have a unique look and feel to them with minimal effort involved! Happy editing. ✅
Video Blending Modes FAQs
What are blending modes and how do they work in video editing?
Blending modes in video editing are techniques that determine how two layers interact with each other. Each blending mode applies a different algorithm, affecting how the pixels of the blend layer and the underlying layer mix to produce various effects. This tool is essential for achieving specific visual styles or effects.
Can you explain the use of the Soft Light blending mode?
The Soft Light blending mode subtly blends layers by darkening or lightening the colors, depending on the blend layer's tones. It's akin to shining a diffused light on the image. This mode is excellent for adding depth or a subtle glow to footage without overpowering the original colors.
What is the Difference blending mode used for in video editing?
The Difference blending mode creates an effect by subtracting either the blend layer from the base layer or vice versa, depending on which has the brighter color. This mode is useful for creating psychedelic, high-contrast visuals and for aligning layers like in motion tracking.
How does the Pin Light blending mode enhance video editing?
Pin Light replaces the colors in the base layer with those in the blend layer, depending on the blend layer’s brightness. This mode is great for adding special light effects and for enhancing details in shadows and highlights.
What is Vivid Light, and how is it used in blending?
Vivid Light is a blend mode that either burns or dodges colors by increasing or decreasing the contrast. It's an intense effect, ideal for adding dramatic contrast or for creating vibrant, eye-catching visuals.
How does Linear Dodge (Add) contribute to blending modes?
Linear Dodge (Add) brightens the base layer depending on the brightness of the blend layer. This mode is effective for creating bright, glowing effects and is often used for adding light elements like flares or explosions.
What is the purpose of the Linear Burn blending mode?
Linear Burn darkens the base layer to reflect the blend layer’s color, creating a deeper, more intense effect than Multiply. This mode is useful for adding shadows, depth, or for a more dramatic overlay effect.
How do you use Linear Light in blending modes?
Linear Light combines Linear Dodge and Linear Burn. It either darkens or lightens, depending on the blend layer. This mode is excellent for enhancing contrast and adding a dramatic effect to the footage.
What effect does the Color Burn blending mode have?
Color Burn intensifies the colors by increasing the contrast between the base and the blend layers. It's commonly used for deepening colors, creating rich, warm tones, and adding dramatic shading.
What is the Lighter Color blending mode and how is it utilized?
Lighter Color compares each pixel of the top and bottom layers and displays the lighter pixel. This is particularly useful for merging images with varying brightness, as it naturally blends light areas.
What does the Normal mode do in blending?
The Normal mode is the default blending mode where the top layer completely covers the bottom layer. It's the basis for understanding more complex blending modes and is often used for straightforward layering.
How does the Darker Color blending mode work?
Darker Color mode displays the darker of the base or blend color. This mode is ideal for compositing dark elements into scenes or for adding depth without affecting the lighter areas of an image.
Where can I find descriptions of all blending modes?
Blending mode descriptions are typically found in the blend mode menu of your video editing software. These descriptions provide insights into how each mode affects your footage, helping you choose the right one for your project.
What is the Color Dodge blending mode used for?
Color Dodge brightens the base layer to reflect the blend color, creating a lighter, washed-out effect. It’s great for adding highlights and a dreamy ambiance to scenes.
In what scenarios should I use the Hard Light blending mode?
Hard Light combines Multiply and Screen blend modes. It creates a high-contrast effect, ideal for adding vivid light and shadow, simulating harsh lighting, or creating a dramatic visual impact.
How do I access the blend mode menu in video editing software?
The blend mode menu is usually accessible in the layer or effects panel of your video editing software. It lists all available blending modes and allows you to select and apply them to your layers.
What does "lighter than 50% gray" mean in blending modes?
In blending modes, "lighter than 50% gray" refers to how certain modes like Overlay and Soft Light treat gray values. Colors lighter than 50% gray lighten the image, while darker colors darken it. This concept is crucial for understanding how these modes affect image luminosity.
How is tinting color images achieved using blending modes?
Tinting color images is achieved by applying a colored layer in a blending mode like Overlay or Soft Light. This alters the color of the underlying footage, allowing you to set the mood or tone of the scene effectively.

Anthony Gallo
Anthony Gallo is the cofounder of ContentCreator.com and lead educator in the online course 14 Day Filmmaker, that has taught over 100,000 aspiring creators how to shoot & edit professional video content with PRO and SMARTPHONE cameras.
Having created content in a variety of industries including commercial advertising, weddings, music videos, and hundreds of youtube videos, Anthony has amassed over 50 million views online and is constantly looking for new and engaging ways to create content and help others master this amazing craft.